
How to Master the Daily Sourdough Bread Routine: A Secret Recipe for Feeding the Family with Fresh, Homemade Bread Every Day!
- Michelle Hawes

- Feb 7, 2025
- 5 min read
Imagine the warm, nutty aroma of freshly baked sourdough bread filling your home. It’s not just food—it’s a moment, a connection, and an experience that brings families together. If you want to create this magic daily, you're in the right place!
In this guide, we’ll walk through a simple timetable to make sourdough bread every day. You’ll find that it’s achievable and fun, perfect for families who appreciate homemade delights!
Understanding the Sourdough Starter
To start your sourdough baking journey, you need a lively sourdough starter. This mixture of flour and water is the heart of your bread, giving it that signature tang and airy texture.
You can create your starter from scratch. Combine equal parts of flour and water by weight. For example, mix 100 grams of flour with 100 grams of water. Cover it loosely and let it sit at room temperature. Feed your starter daily with the same ratio until it bubbles up and smells pleasant.
Daily Timetable for Sourdough Success
With your starter thriving, here’s a straightforward daily schedule to help you bake delicious sourdough bread. This example is based on a morning bake so you have fresh bread for breakfast and school lunches.
Late Afternoon: Feeding the Starter
Your back from the school run or work and its time to feed your starter! You should give yours a name, it is a living thing! Mine is called Mabel :-)
4:00 PM - Feed Your Starter: Discard half of your sourdough starter and add equal parts of water and flour, I add 1/2 cup of plain flour and 1/2 cup of lukewarm water. Aim for a room temperature of around 75°F (24°C). This step helps keep your starter active and ready for baking. If you want to make more than one sourdough loaf a day you will need to double up on this.
Early Evening: Preparing the Dough
Now it's time to mix your dough!
6:00 PM - Mix Ingredients: In a large bowl add 100 grams of fresh starter and 300ml of water. Mix together and add 10 g salt and 500 grams of bread flour. Mix everything thoroughly and let it rest for 30 minutes. This process is called autolyse and helps with gluten development. I cover the bowl with a shower cap to keep the moisture in and prevent a crust forming. Here is the link to the caps I use.
https://www.stylink.it/4BGmjcRQrb9 - Pack of 4 Shower Caps
A little note about the flour. For the bread to be able to hold the structure of the large holes that give it the springy sourdough trademark you need to use a flour that has a high protein content. Anything around 14g is good. Here are some links to some flour that works well.
https://www.stylink.it/a54RmCpj2Pe - Allinson's Very Strong White Bread Flour
Evening: Shaping the Dough
Watch your dough come to life!
6:30 PM - Bulk Fermentation: After the rest, perform a series of stretch and folds every 30 minutes for the next 2 hours. This simple technique enhances the gluten structure and adds strength. With the bowl in front of you and wet hands, grab the dough from the top, lift it up to stretch it and fold it over the top of the dough on to itself. Turn the bowl and repeat the process so its done 4 times. Think North, East, South & West. Set a timer for 30 minutes and repeat this whole process until you have done 4 sets of stretch and folds.
Leave the Dough Overnight: I leave mine covered in the bowl out on the worktop. I live in a very old cottage and the kitchen temperature drops overnight anyway and I find that it is happier like this rather than in the fridge. However if you live in a warmer house you may need to leave the dough in the fridge or it will over ferment.
Early Morning: The Final Proof
You need to be an early riser if you want fresh bread for breakfast, but you're on the final steps and almost ready to bake!
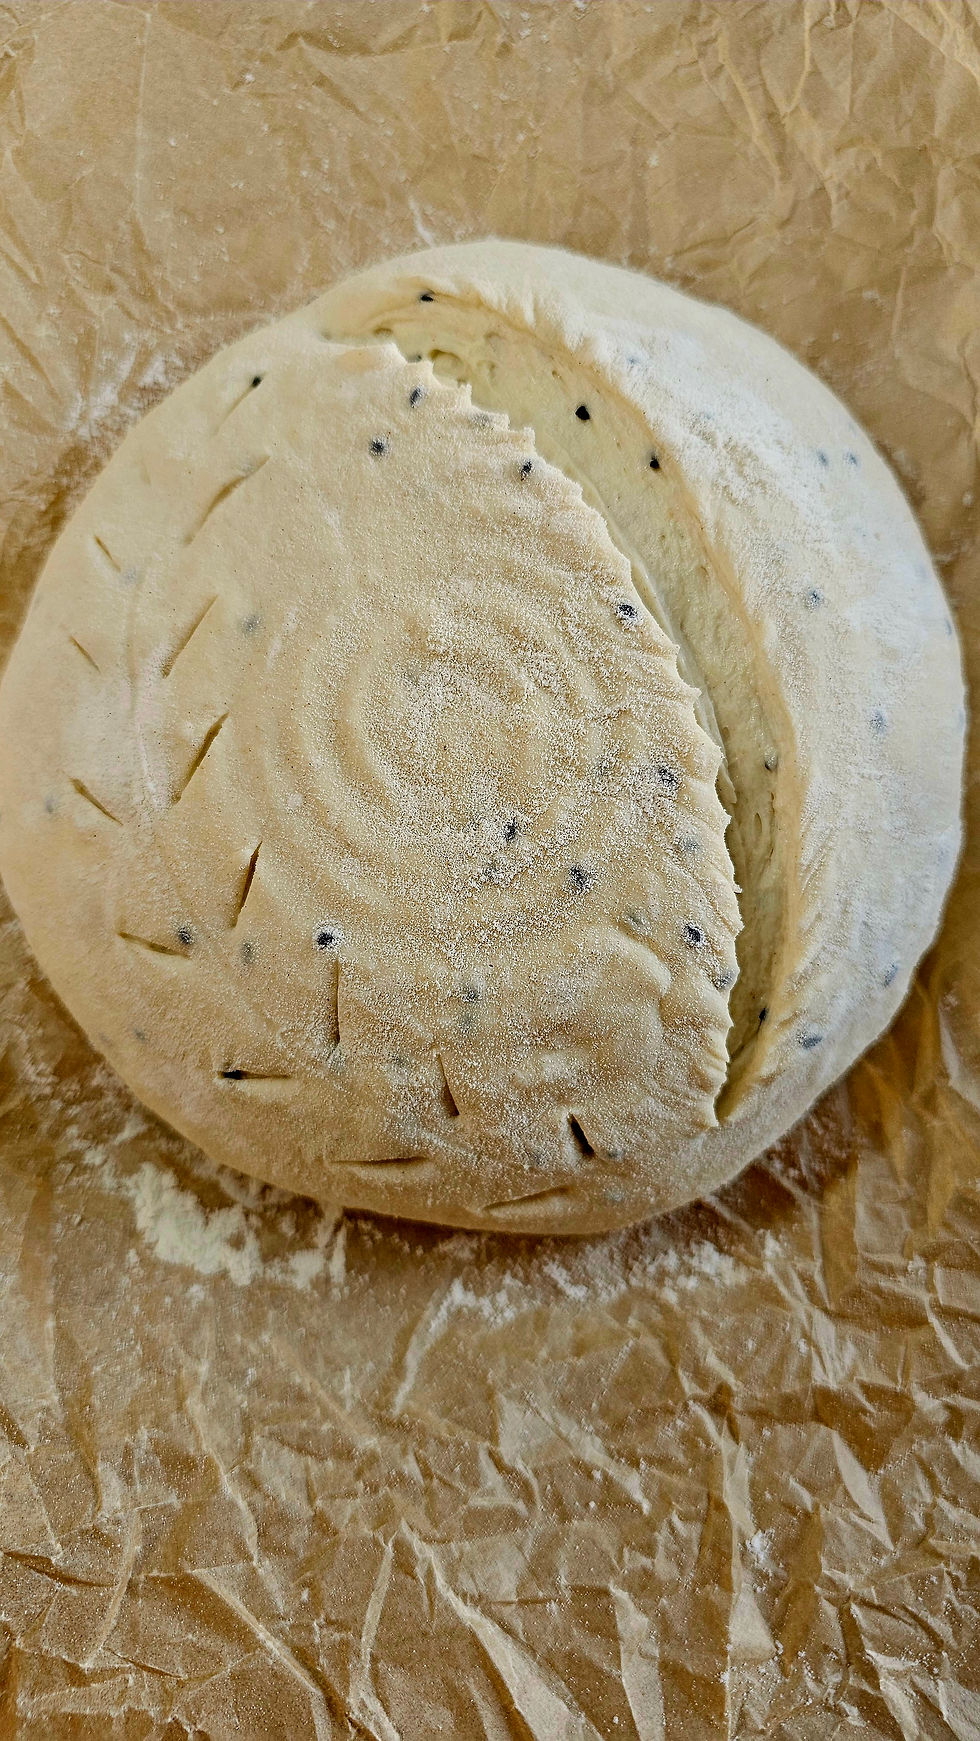
6:00 AM - Shaping: Dust a clean surface with some plain flour. Pour out your dough. I now fold my dough into three like an envelope so each side into each other. Then when I have a rectangle of dough I roll it up as carefully as I can as to not burst too many of the bubbles that have formed over night. The aim is to create as much tension as you can across the surface. You can do this by stitching it togeher (pinching from either side and crossing over the dough sealing it) Or rolling it across the surface, pulling from underneath to create a tighter ball shape.
Whether round or oval, place it seam side up in a floured proofing basket. Cover it and let it proof for another hour at room temperature.
Baking the Bread
The moment of truth!
6:45 AM - Preheat the Oven: Set your oven to 180°C for a fan oven with a Dutch oven inside. This helps create a crispy crust as the bread bakes.
7 AM - Bake the Bread: Once preheated, carefully place your dough into the hot Dutch oven. Using a really sharp blade score the top of the dough, the main score needs to be about 1/4 inch deep. Cover it and bake for 25 minutes. Remove the lid and bake for an additional 15 minutes until the crust is golden and crackly.

BREAKFAST: Enjoy the Fruits of Your Labor
7:50 AM - Cool and Serve: Allow the loaf to cool for at least 30 minutes on a wire rack before slicing. This cooling period ensures a bread that’s soft and right for cutting. Serve it with butter and jam or alongside rich soups and crunchy salads. Fresh, homemade sourdough is the perfect complement to any meal!
Tips for Daily Sourdough Baking
Baking daily sourdough may seem daunting, but with these handy tips, you’ll gain confidence quickly:
Adjust As Needed: Every kitchen varies in temperature. Keep an eye on your dough and adjust proofing times based on how it feels. I have found that if its particularly cold weather you can use a plastic bowl instead of ceramic and the dough warms up more quickly.
Experiment with Flour: Don’t hesitate to try different types of flour. Whole wheat adds nutritious value and a distinct flavour, while rye offers a deeper taste and darker colour. You will always need to keep up a high protein content in your flour so look out for this when shopping around.
Embrace the Imperfections: Not every loaf will turn out like the last. Enjoy the process and learn from each bake. Celebrate the unique character of every loaf. Practice with different scoring patterns until you get the look that you prefer.
Embracing Your Sourdough Journey
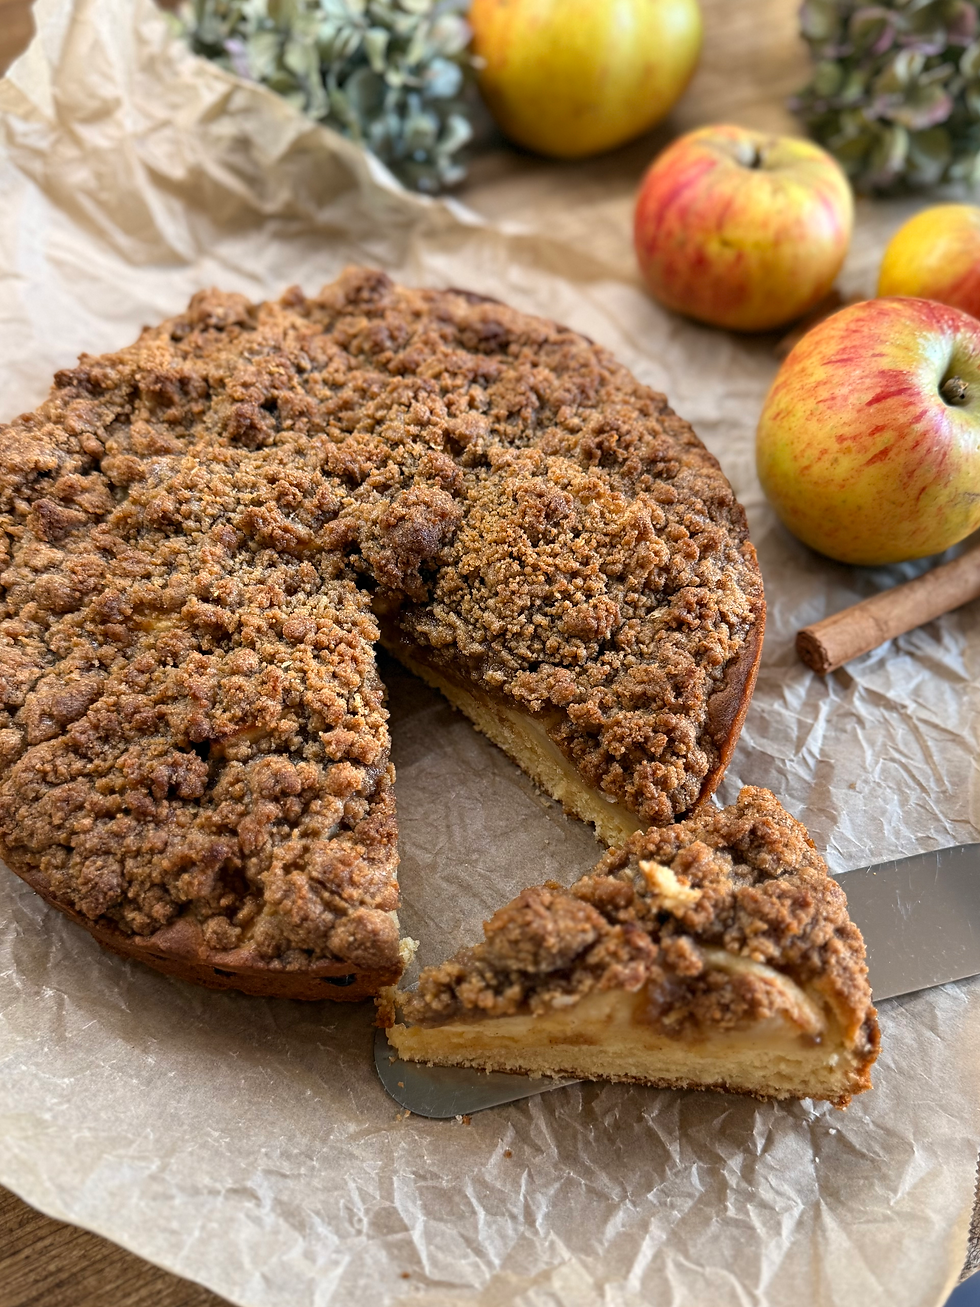
Baking sourdough bread daily is about more than just the end product; it's about the happiness of the process, with this simple timetable, you can beautifully integrate sourdough baking into your day. You can experiment with other sourdough bakes, why not try focaccia or sourdough pancakes and crackers.
Gather your ingredients, fire up your oven, and dive into the rewarding world of sourdough baking.


Comments